Educational content only — not medical advice. See our full Medical Disclaimer and Affiliate Disclosure below.
Key Takeaways
- Gua sha is a traditional Chinese skin ritual, and paired with the classic manual-lymphatic-drainage movement pattern — light, smooth pressing and gliding along the lymph-flow lines[1] — it makes a calm, structured skincare routine.
- A full session takes about 15 minutes: face-and-head lymphatic massage averages 15 minutes per session in the source literature[1].
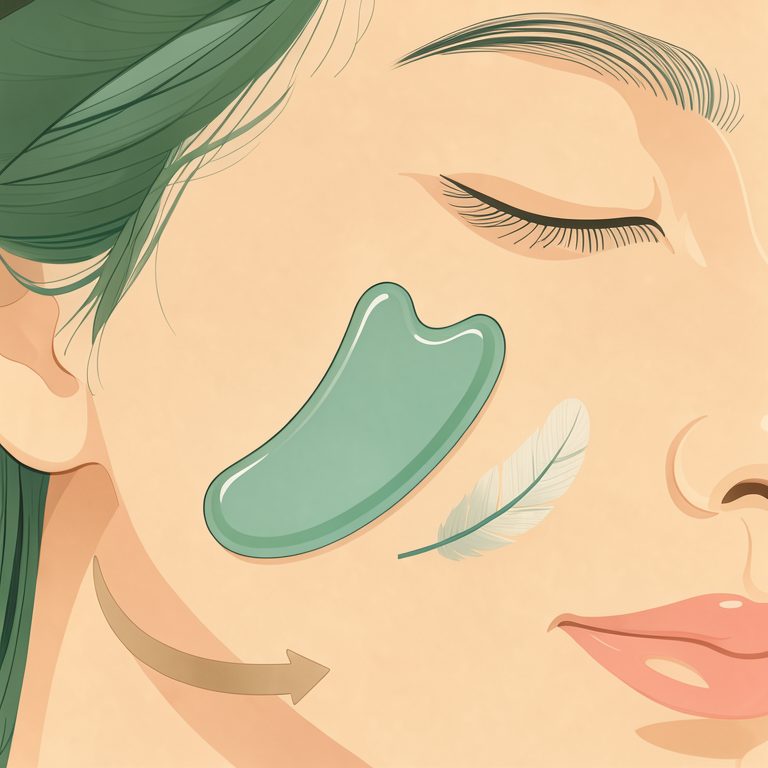
- Pressure stays light — after a manual lymphatic session there should be no bruises or contusions; that no-bruise rule is the safety benchmark of this ritual[1].
- The only numeric course schedule in the sources — 15–20 minutes per session, once every 2–3 days, 9–11 sessions per course — comes from a vacuum/cupping protocol, not from a studied gua sha course[2].
- Skip the ritual with thrombophlebitis or thrombosis, severe cardiovascular disease, skin damage or active herpes, lymphadenitis, neuralgia, acute flare-ups, oncological conditions, or during pregnancy[1].
Why a Gua Sha Ritual Belongs in a Lymphatic-Flow Routine
Gua sha is a traditional Chinese skin ritual: a smooth-edged tool is glided repeatedly over oiled skin, usually as a slow morning or evening routine. In the practice’s own tradition it is used to refresh the complexion and release a feeling of stagnation. This manual pairs that ritual with what the source literature on lymphatic care actually describes — gentle stroking along the lymph-flow lines, careful pressure, and explicit safety limits — so a modern reader can practice it with their eyes open. This manual is not intended to cure, treat, or diagnose any disease; it is a traditional wellness ritual that may support a calm skincare routine.
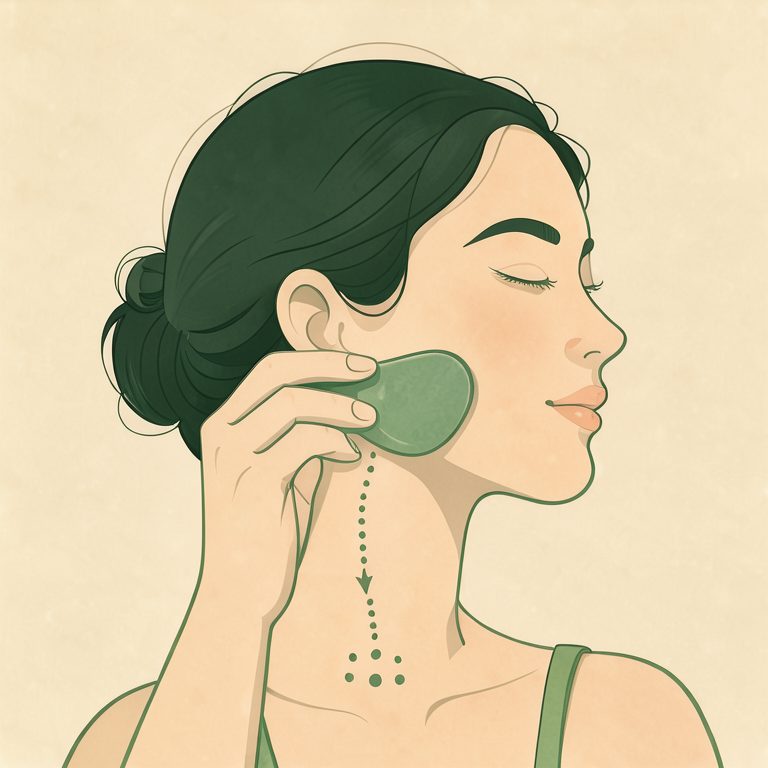
What connects gua sha to our lymphatic-flow pillar is not the stone itself but the movement pattern. The classic technique of manual lymphatic drainage is defined as light, smooth pressing and gliding along the lines of lymph flow
[1] — the same unhurried glide a gua sha stroke produces when the pressure stays gentle.
Science and Tradition: What Is Claimed vs. What Is Described
Two different registers get mixed together in gua sha content: traditional lore from the practice’s history, and descriptions from the traditional-care literature in our library. Modern physiology explains lymph movement through vessel contractions and muscle activity[1][2] — not through magic — which is why every entry below separates the traditionally used for claim from what the source books actually describe.
| Angle | Traditional claim (practice lore) | What the source literature describes |
|---|---|---|
| Skin glow | Traditionally used for a fresher, brighter complexion | Lymphatic-drainage massage is used in cosmetology to reduce facial puffiness and under-eye shadows and to support skin cell renewal[1] |
| Tension and stress | Traditionally used as a calming daily ritual | Manual drainage techniques are traditionally applied for stress relief and psycho-emotional balance[1] |
| Fluid movement | Traditionally said to “move stagnation” | Manual technique works along the lymph-flow lines with light gliding pressure; the surface variant stimulates metabolic processes in the skin layers and unblocks capillaries[1] |
| Marks on the skin | “Sha” marks are traditionally read as released stagnation | After cupping procedures, marks are described as a result of increased capillary permeability — not vessel rupture — fading over several days[2] |
| How much is enough | Social-media routines often push daily scraping | The vacuum/cupping-drainage protocol schedules 15–20 minutes per session, once every 2–3 days, 9–11 sessions per course[2] — a cupping schedule, not a studied gua sha course. For manual face work the source gives only a single-session figure: about 15 minutes on average[1] |
The 7-Step Gua Sha Lymphatic Ritual
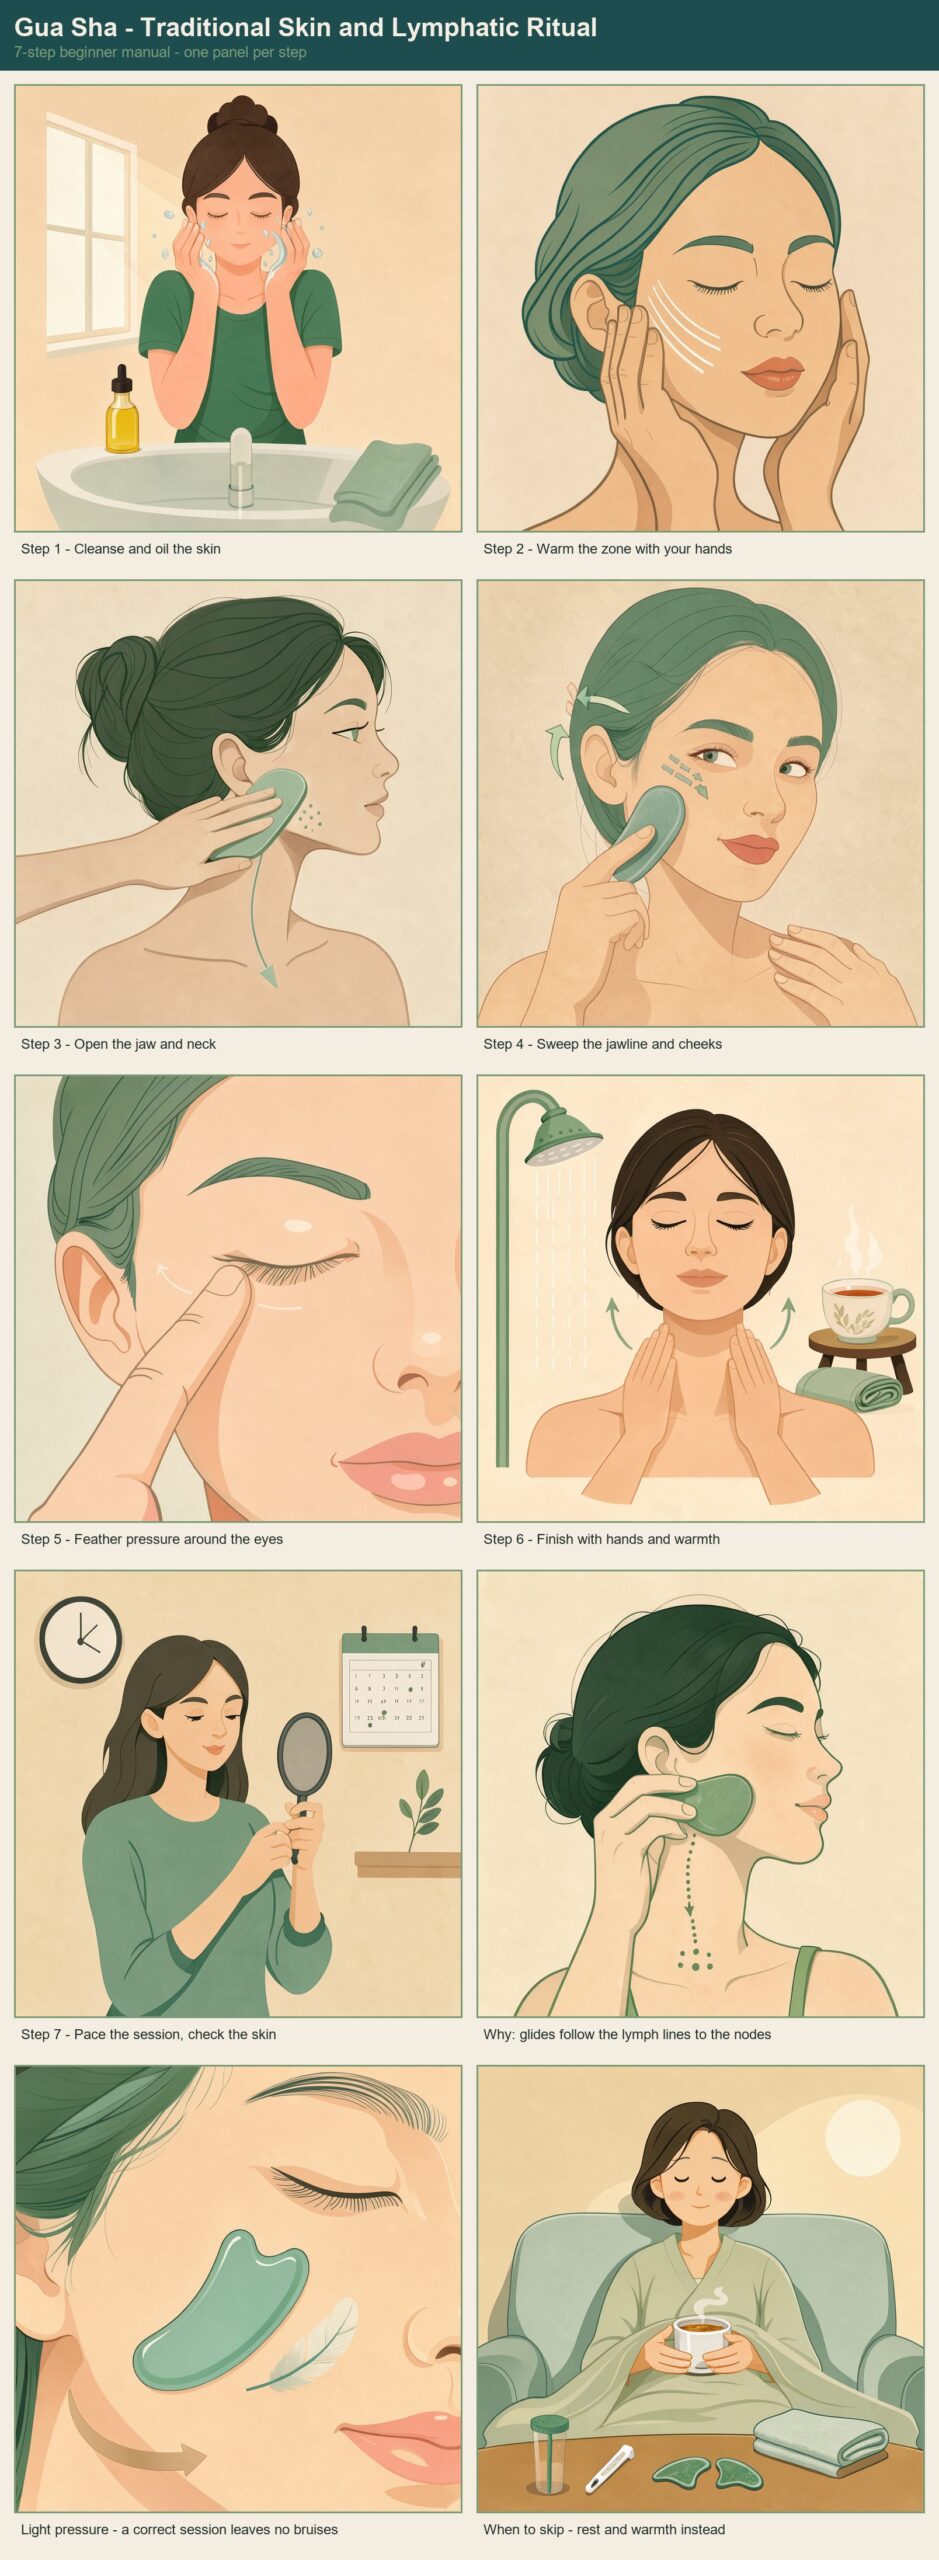
Total time about 15 minutes — face-and-head lymphatic massage averages 15 minutes per session in the source literature[1]. Pressure is light throughout: the source literature is explicit that after a manual lymphatic session there should be no bruises and contusions
on the body[1] — treat that as your safety benchmark, whatever the tradition says about “sha”.
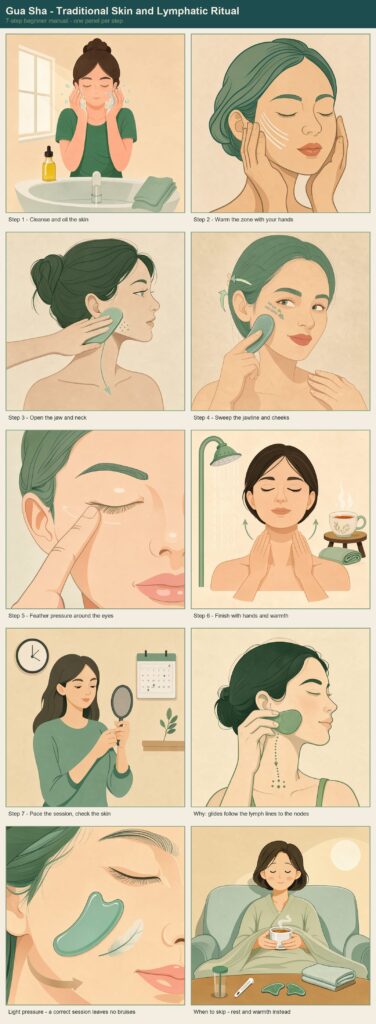
Cleanse and oil the skin
Wash the face or body area and apply a thin layer of facial oil or a massage mixture so the tool glides without dragging. The face must be thoroughly cleansed before any lymphatic drainage work (Shelest, 2019), and traditional lymphatic routines use blends of base and essential oils chosen for the desired calming effect (Shelest, 2019).Warm the zone with your hands
Before the tool touches the skin, warm the area with slow, gentle stroking in the direction of lymph movement. Make a few passes over one spot, then move slightly (Shelest, 2019).Open the jaw and neck
Glide the tool along the jaw and the side of the neck with light, even pressure, working from the center of the face toward the contour and toward the nearest lymph nodes - the submandibular and submental nodes under the jaw (Shelest, 2019). The core rule of the manual technique: light, smooth pressing and gliding along the lymph-flow lines (Shelest, 2019).Sweep the jawline and cheeks
Work from the center of the face outward in short, unhurried strokes, three passes per spot; in the temple area, progress from the temples toward the nodes behind the ears (Shelest, 2019). Keep the pressure light - the surface variant of manual drainage is meant to stimulate metabolic processes in the skin layers, not to press hard (Shelest, 2019).Use feather pressure around the eyes
Under-eye puffiness and shadows are among the cosmetic concerns the source literature traditionally links to gentle drainage work (Shelest, 2019). Here the stroke should barely touch the skin.Finish with your hands and warmth
End with slow stroking by hand, then a warm shower. Traditional cupping routines close the session exactly this way and advise wrapping up warm with mineral water or herbal tea afterward (Bogdanova, 2010).Pace the session, then check the skin
Aim for about 15 minutes per session - face-and-head lymphatic massage averages 15 minutes in the source literature (Shelest, 2019). The only numeric course schedule in our sources - 15-20 minutes, once every 2-3 days, 9-11 sessions - is borrowed from the vacuum-therapy protocol (Bogdanova, 2010) and is a cupping schedule, not a studied gua sha course. Afterward the skin should show no bruises or contusions - that is the no-bruise safety benchmark of manual lymphatic work (Shelest, 2019).
- Cleanse and oil the skin. Wash the face or body area and apply a thin layer of facial oil or a massage mixture so the tool glides without dragging. The face must be thoroughly cleansed before any lymphatic drainage work[1], and traditional lymphatic routines use blends of base and essential oils chosen for the desired calming effect[1].
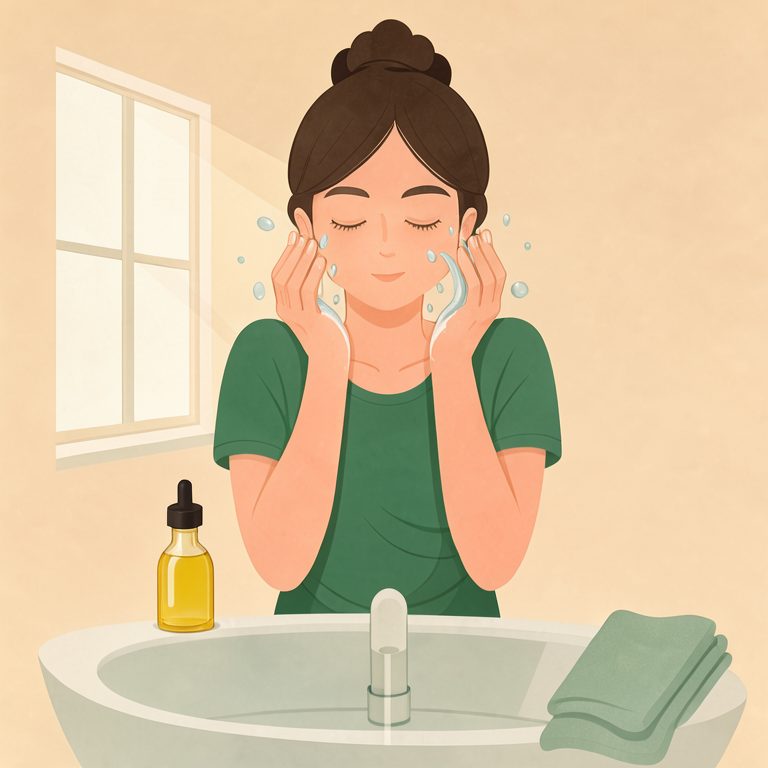
Step 1 — Cleanse and oil the skin - Warm the zone with your hands. Before the tool touches the skin, warm the area with slow, gentle stroking in the direction of lymph movement. Make a few passes over one spot, then move slightly[1].
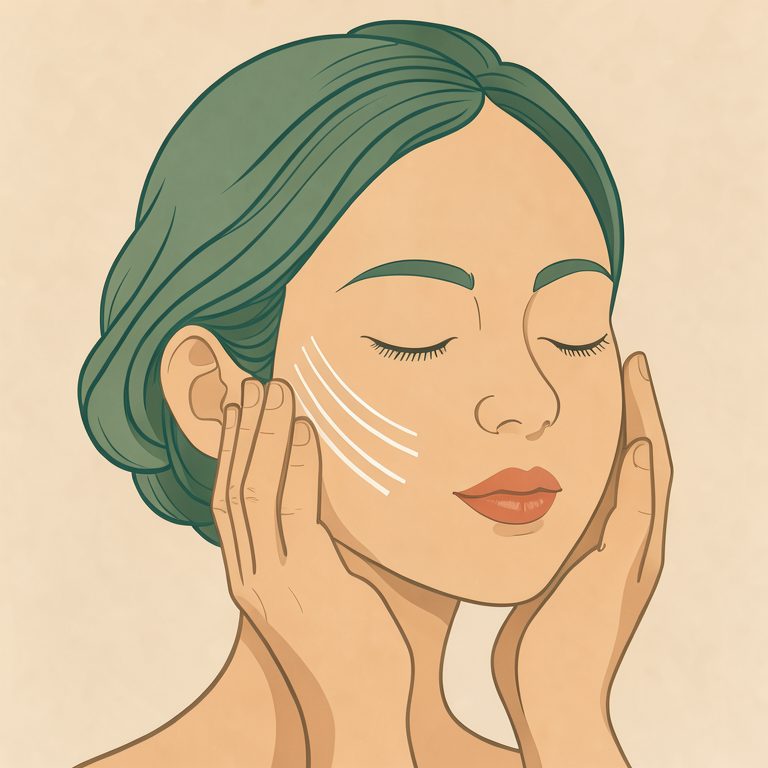
Step 2 — Warm the zone with your hands - Open the jaw and neck. Glide the tool along the jaw and the side of the neck with light, even pressure, working from the center of the face toward the contour and toward the nearest lymph nodes — the submandibular and submental nodes under the jaw[1]. The core rule of the manual technique is simple: light, smooth pressing and gliding along the lymph-flow lines[1].
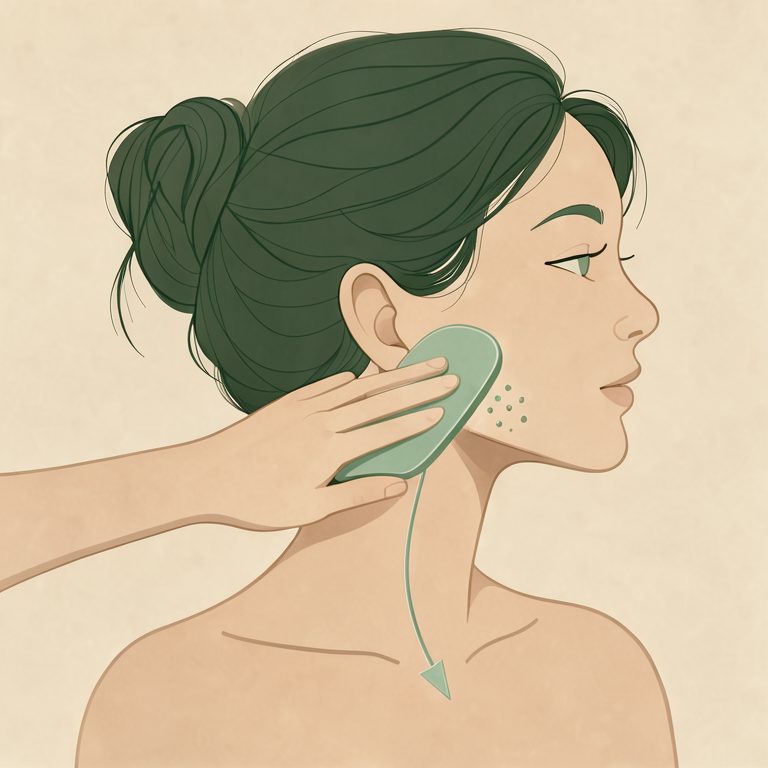
Step 3 — Open the jaw and neck - Sweep the jawline and cheeks. Work from the center of the face outward in short, unhurried strokes, a few passes per spot; in the temple area, progress from the temples toward the nodes behind the ears[1]. Keep the pressure light — the surface variant of manual drainage is meant to stimulate metabolic processes in the skin layers, not to press hard[1].
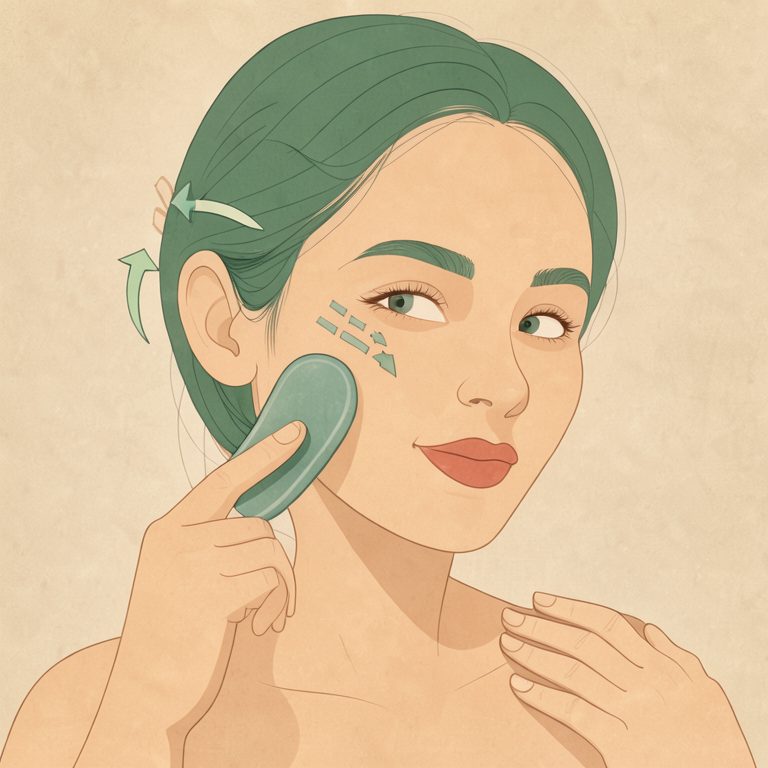
Step 4 — Sweep the jawline and cheeks - Use feather pressure around the eyes. Under-eye puffiness and shadows are among the cosmetic concerns the source literature traditionally links to gentle drainage work[1]. Here the stroke should barely touch the skin.
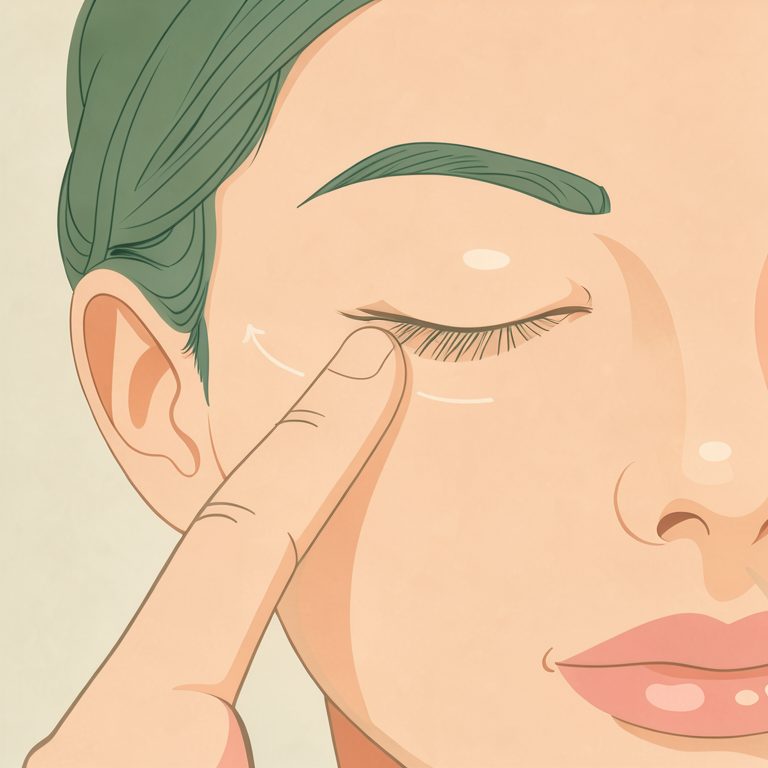
Step 5 — Feather pressure around the eyes - Finish with your hands and warmth. End with slow stroking by hand, then a warm shower. Traditional cupping routines close the session exactly this way and advise wrapping up warm with mineral water or herbal tea afterward[2].
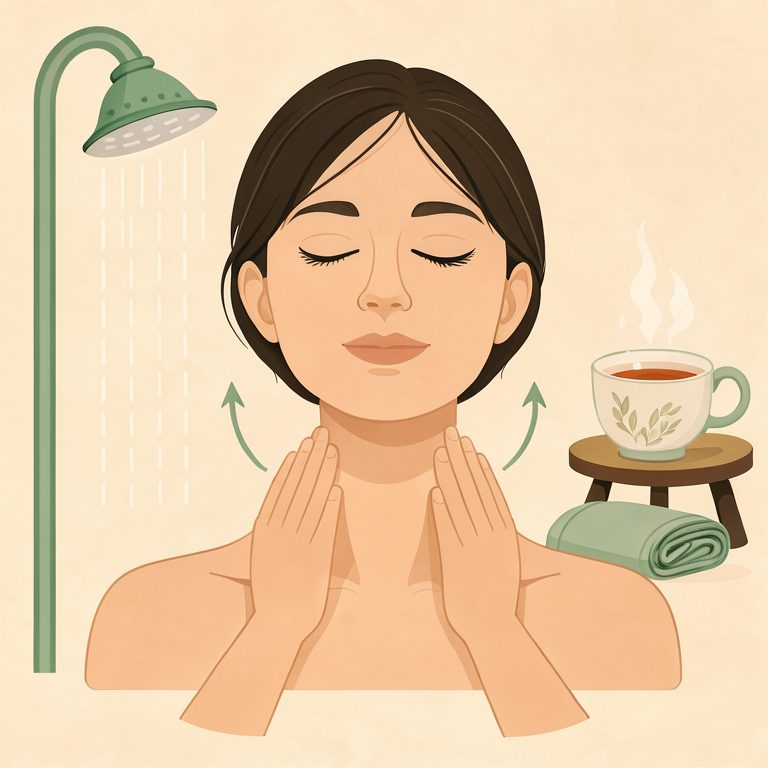
Step 6 — Finish with hands and warmth - Pace the session, then check the skin. Aim for about 15 minutes per session — face-and-head lymphatic massage averages 15 minutes in the source literature[1]. The only numeric course schedule in our sources — 15–20 minutes, once every 2–3 days, 9–11 sessions — is borrowed from the vacuum-therapy protocol[2] and is a cupping schedule, not a studied gua sha course. Afterward the skin should show no bruises or contusions — that is the no-bruise safety benchmark of manual lymphatic work[1].
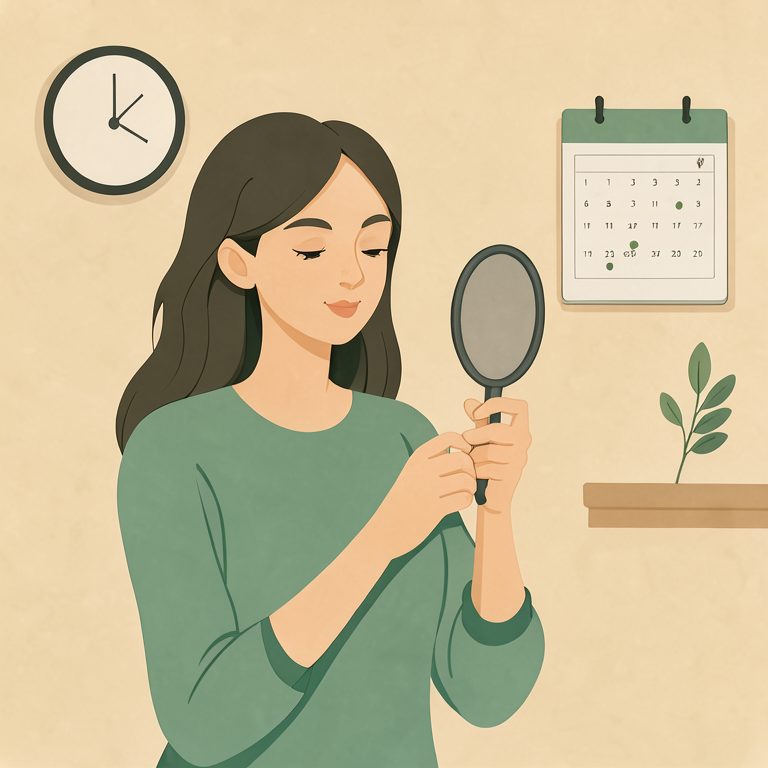
Step 7 — Pace the session, then check the skin
Safety and Contraindications
Any tactile or tool-based body practice carries limits, and the lymphatic-care literature lists them plainly. Do not practice this ritual with:
- thrombophlebitis or thrombosis;
- severe cardiovascular disease;
- skin diseases, purulent inflammation, active herpes, burns, or other skin damage;
- lymphadenitis or lymphadenopathy;
- neuralgia;
- acute inflammatory processes in their flare stage;
- oncological conditions;
- pregnancy[1].
Additional cautions from the vacuum-therapy tradition overlap closely: tumors of any nature, general exhaustion, acute infections with fever, a tendency to thrombosis and bleeding, varicose veins of grade II–III, and the second half of pregnancy are all listed as reasons to skip; work over the heart, eyes, and ears is avoided entirely[2]. Procedures that act on the skin and blood carry extra risk when blood clotting is reduced — the leech-therapy literature names hemophilia, hemorrhagic diathesis, and severe anemia as hard stops[3].
Two final rules from the source books: do not attempt lymphatic techniques on yourself or others without first learning the correct method, and check beforehand whether any contraindication applies to you[1]. This ritual is a traditional wellness practice; it is not intended to cure, treat, or diagnose any disease.
Keep Exploring
Pair this ritual with our Baduanjin — Eight Pieces of Brocade manual for whole-body movement, or the Zusanli ST36 acupressure guide for a grounding point routine. If your goal is joint comfort, read our honest Joint Genesis review and Unlock Your Hip Flexors review before considering any program.
Frequently asked questions
How long should a gua sha lymphatic session last?
About 15 minutes — face-and-head lymphatic massage averages 15 minutes per session in the source literature[1]. The only numeric course schedule in the sources — 15–20 minutes per session, once every 2–3 days, 9–11 sessions per course — comes from the vacuum/cupping protocol and is not a studied gua sha course[2].
Should gua sha leave marks or bruises?
No. The manual-lymphatic benchmark in the source literature is blunt: after a session there should be no bruises and contusions on the body[1]. Marks that appear after cupping procedures are described as a result of increased capillary permeability — not vessel rupture — and fade over several days[2].
Who should skip this ritual?
Anyone with thrombophlebitis or thrombosis, severe cardiovascular disease, skin diseases or purulent inflammation, active herpes, burns or other skin damage, lymphadenitis or lymphadenopathy, neuralgia, acute inflammatory flare-ups, or oncological conditions — and during pregnancy[1]. The vacuum-therapy tradition adds tumors of any nature, general exhaustion, acute infection with fever, varicose veins grade II–III, and the second half of pregnancy[2], and procedures that act on skin and blood carry extra risk when blood clotting is reduced[3].
Sources
- [1] Shelest O. N. — Pomogi sebe sam. Ochishchaem krov i limfu (Help Yourself: Cleansing the Blood and Lymph) (2019)
- [2] Bogdanova A. V. — Zhivaya voda organizma. Ochishchenie limfy (The Body’s “Living Water”: Lymph Cleansing) (2010)
- [3] Antonova L. V. — Ochishchenie organizma (Cleansing the Body) (2008)
How we researched this
This article is based on our local library of 1,137 traditional wellness books; no internet sources were used. Every statement above was checked against the cited source passages.
Sources & References
Shelest O. N. - Pomogi sebe sam. Ochishchaem krov i limfu (Help Yourself: Cleansing the Blood and Lymph) (2019); Bogdanova A. V. - Zhivaya voda organizma. Ochishchenie limfy (The Body's "Living Water": Lymph Cleansing) (2010); Neumyvakin I. P. - Banya. Lechebny effekt (The Bath: Therapeutic Effect) (2010); Kasyanov D. - Ochishchaem kozhu i sustavy (Cleansing the Skin and Joints) (2005); Antonova L. V. - Ochishchenie organizma (Cleansing the Body) (2008)