
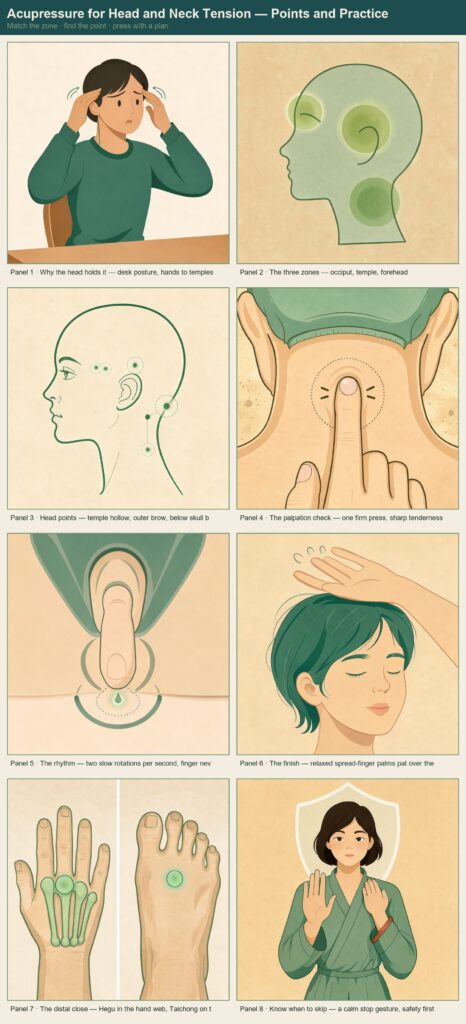
Educational content only — not medical advice. See our full Medical Disclaimer and Affiliate Disclosure below.
Key Takeaways
- Classical manuals match head and neck tension to zones: occiput, temples, forehead — and pick different points for each [2][3].
- Nine home points appear again and again in the sources: Taiyang, Sizhukong, Fengchi, Fengfu, Tianzhu, Dazhui, Jianjing — plus Hegu on the hand and Taichong on the foot [2][5][6].
- A responding point reacts to a firm press with a sharp, clear tenderness; chart positions can sit up to 1 cm off on your own body [7].
- Technique basics: finger pads, slow clockwise circles at about two rotations per second, light pressure for one to five minutes [4][7].
- Pregnancy, fever, tumors, blood disorders and broken skin are on the classical contraindication lists — check them before every session [6][8].
Acupressure for head and neck tension is one of the oldest entries in the self-massage literature: the same few points — temple, brow, base of the skull, top of the shoulders — recur across Chinese, Tibetan-Russian and Japanese-influenced manuals. Modern desk life gives the old maps fresh work: Soviet-era massage texts already observed that during intense mental work and emotional strain muscle tension rises, and the longer and heavier the mental load, the stronger it gets [9] — a fair description of a screen-bound workday at a desk. This guide puts the classical material in working order: how the sources zone the head, which points they use, how to find a point on your own body, and a five-step protocol you can run in a chair.
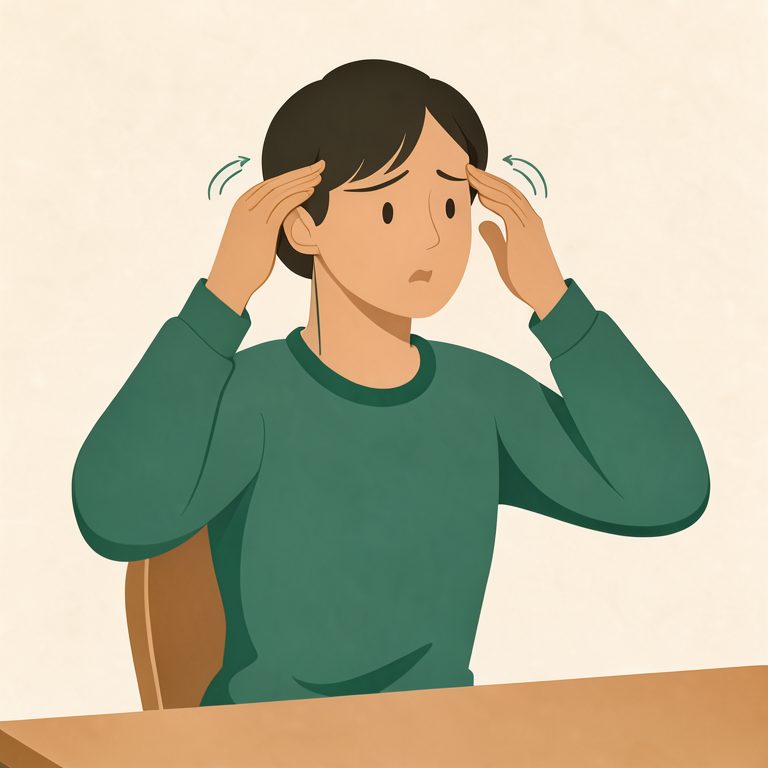
Acupressure for Head and Neck Tension: the Traditional View
The word the tradition uses is dian xue — “pointing” at a “cavity.” Meridian qigong manuals explain that by applying pressure to certain acupuncture cavities, the qi circulation in the twelve primary channels can be influenced, and that acupressure is exactly this: the needle-free way of working those cavities [1]. The same source sets expectations kindly — professional tui na and dian xue practitioners traditionally learn about 108 of the more than seven hundred cavities over roughly ten years of practice, yet many cavities and techniques remain suitable for basic everyday self-care without professional training [1]. The classical learning path even begins at home: “to learn massage, the first step is self-massage” [1].
Classical Chinese self-massage does not treat every headache the same way. It sorts them by cause — a cold with runny nose and fever, exhaustion and weakness, or elevated blood pressure are its examples — and says the point choice follows the cause [2]. For a tension-pattern of the desk-bound kind, the sources work the head and neck locally and then close with points on the hand and foot, a structure this guide follows below.
Match the Zone: Where It Hurts Decides Where You Press
Clinical reflexotherapy literature states a zoning principle plainly: many authors find the points of the meridians that run through the painful zone more effective. For occipital pain it names the bladder meridian points; for temporal and parietal pain, the gallbladder and triple burner meridians; for forehead pain, the gallbladder meridian [3]. A classical trial prescription it records for head pain of any location runs through distant points on the arm and leg — GI-4 (Hegu), GI-11, GI-15, E-36, E-44 — held for thirty minutes in clinical practice [3]; the home version of that logic is exactly the distal close in step five below.
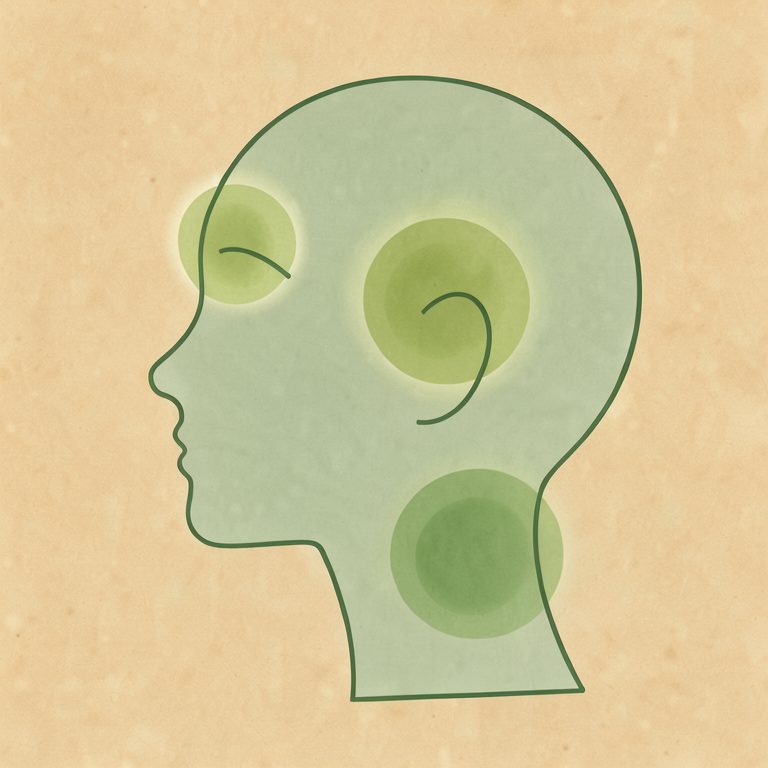
| Where you feel it | Classical meridian zone [3] | Points home guides use there [2][5][6] |
|---|---|---|
| Back of head and neck (occiput) | Bladder meridian zone | Tianzhu, Fengchi, Fengfu, Dazhui |
| Temples and sides of the head | Gallbladder and triple burner zones | Taiyang, Touwei, Sizhukong |
| Forehead and brow | Gallbladder zone | Points of the forehead and temples worked together [2] |
| Top of the shoulders | Scapula group of the head-and-neck region [5] | Jianjing with its neighbors |
One caveat belongs here: elevated blood pressure appears on the classical cause list [2], and head pain with pressure problems is a physician’s territory first — the sources themselves send any illness to medical consultation before self-massage [4].
The Nine Points for a Tense Head and Neck
These nine points recur across the home-practice literature. Names below pair the classical transliteration with the standard international code so you can cross-reference any atlas.
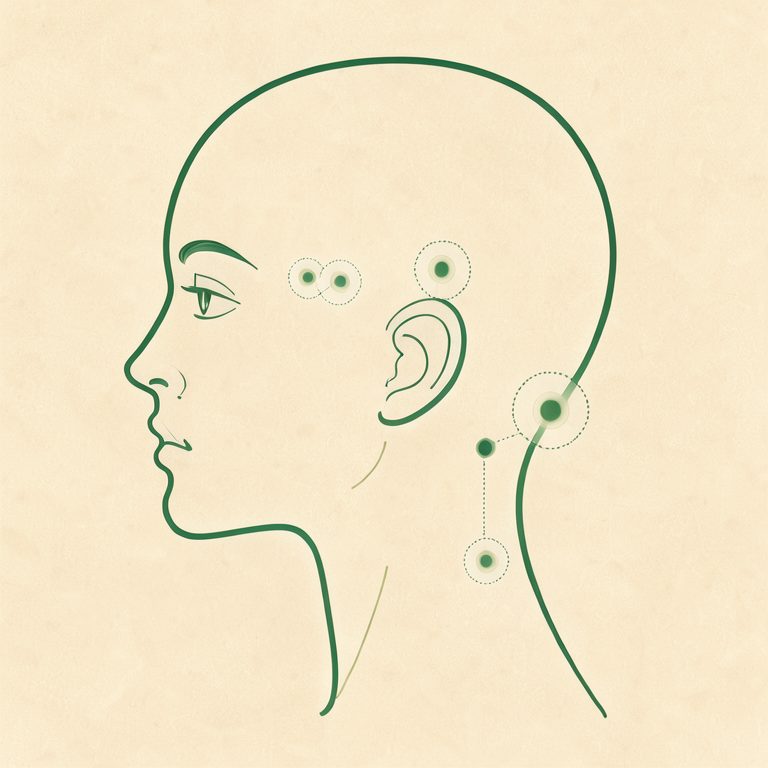
| Point | Where the sources place it | Traditionally noted for | Source |
|---|---|---|---|
| Taiyang (EX-HN5) | In the soft hollow of each temple | Migraine, facial neuralgias, lowered vision [5]; ten presses per temple in the headache sequence [2] | [2][5] |
| Sizhukong (TE-23) | At the outer end of each eyebrow | Part of the cold-headache sequence, worked with circular massage [2]; eye and facial-nerve complaints [5] | [2][5] |
| Fengchi (GB-20) | In the hollow below the skull bone, behind each ear | Headache and neck-occipital pain, migraine, insomnia [5]; ten circular presses at home [2] | [2][5] |
| Fengfu (GV-16) | Center of the occiput, at the base of the neck | Posterior-neck zone complaints: headache, neck-occipital pain, insomnia [2][5] | [2][5] |
| Tianzhu (BL-10) | Back of the neck, in the posterior cervical group beside the spine | Same posterior-neck list: headache, cervico-occipital pain [5] | [5] |
| Dazhui (GV-14) | Upper part of the spine, below the prominent neck vertebra | Worked with Fengchi and Fengfu in the home headache sequence [2] | [2] |
| Jianjing (GB-21) | Top of the shoulder, in the scapula group | Complaints of the occipital and shoulder-blade region [5] | [5] |
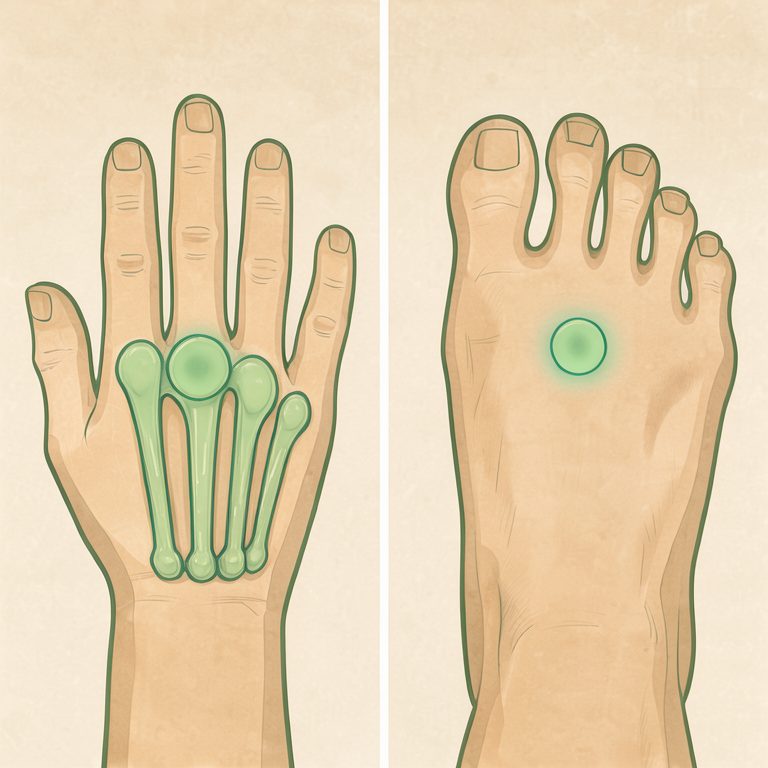
| Hegu (LI-4) | Hollow between the first and second metacarpal bones of the hand, closer to the middle of the second; hand straight, thumb held out | Easing headaches, dizziness [6]; our step-by-step practice manuals cover it in depth | [6] |
| Taichong (LR-3) | Hollow between the first and second metatarsal bones of the foot, half a cun (a traditional proportional unit) above the toe joints | Muscle spasms, dizziness, disturbed sleep, emotional instability [6] | [6] |
A tenth point waits in the notes for cold-type head pain: Zhiyin (BL-67) on the outer corner of the little toe, which the Chinese self-massage sequence presses five to ten times [2].
Traditional Palpation vs Modern Point-Finding
How do you know you are on the point? The traditional answer is palpation: the sought point responds to a firm press with a sharp, distinct pain signal that sets it apart from the surrounding tissue [7]. Head-massage manuals agree — active points carry heightened tenderness, and describe locating them by rolling a small ball of 10–15 mm (about 0.4–0.6 in) in circles over the skin until the tender spot declares itself [4]. The same manual adds that placement is individual: chart positions can deviate by up to one centimeter (about 0.4 in) from person to person, which is why diagrams mark a zone rather than a pin-head [7]. Modern practice adds an instrument check: point-finding devices locate cavities by measuring skin electrical resistance, which is lowered at the points [7] — a traditional palpatory skill restated in electrical terms.
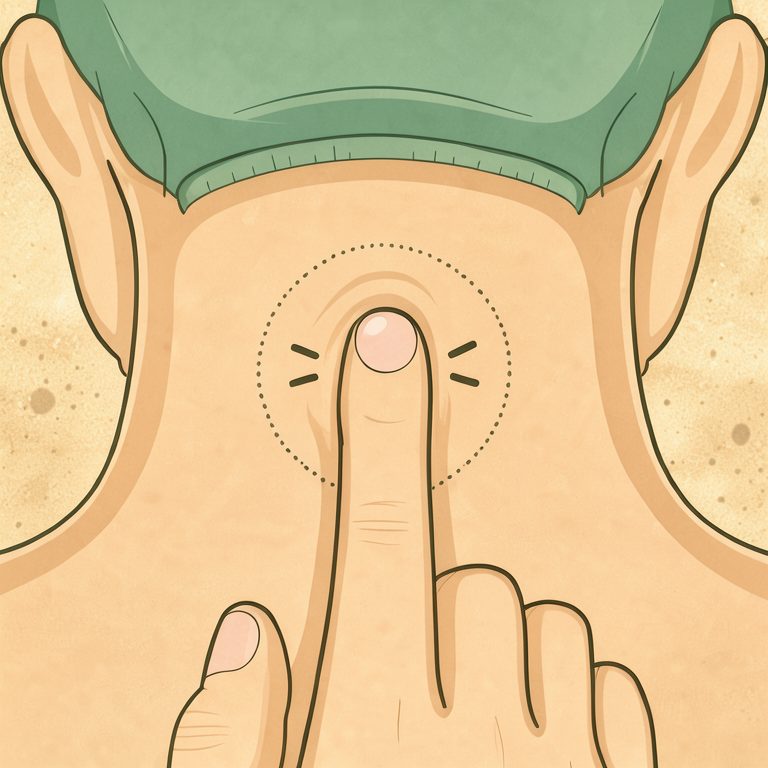
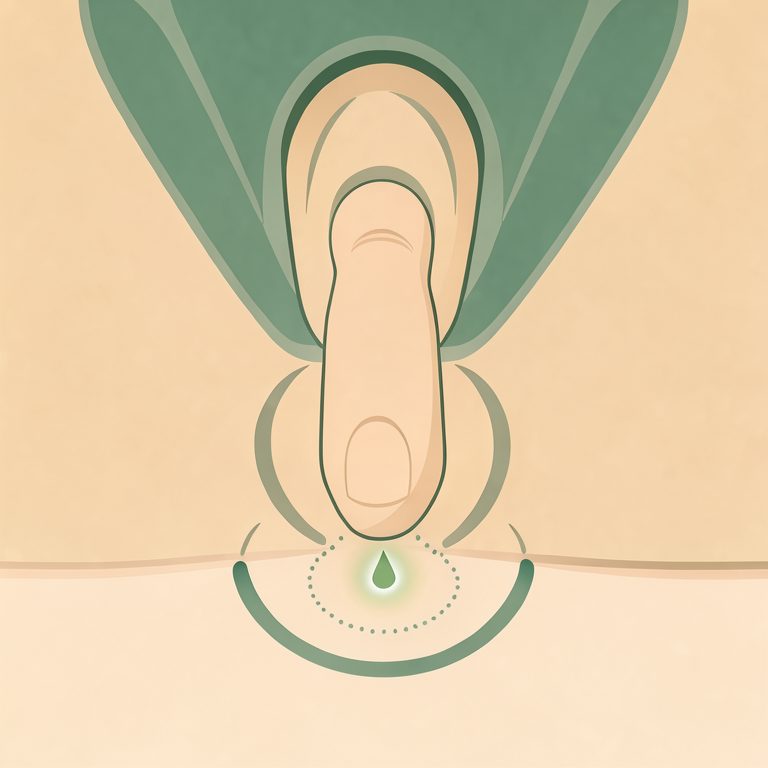
The pressure itself has a grammar. Work with the pads of the fingers, not tips or nails; the classical repertoire names stroking, pushing, pressing, kneading and vibration [4]. Depth ranges from barely perceptible to firmly deep [4], and the movements are continuous, unhurried, and clockwise [4]. The practical guide gives a rhythm: circular motions that move the skin over the underlying bone or muscle at about two rotations per second, the finger never leaving the spot [7]. Calming work is light and long — one to five minutes of gentle circular massage for acute discomfort — while chronic patterns take medium pressure in short, repeated doses of up to thirty seconds, several times through the day [7]. Strong pressure, when a source allows it at all, is done chiefly with the thumb [7].
The Five-Step Home Protocol
Assembled from the classical instructions, this sequence stays within home practice: fingers only, seated, unhurried. Beginners should limit how many points they work and for how long, expanding with experience — the Chinese self-massage guide says exactly that [2].
- Prepare. Wash your hands and rub them warm before touching the points [4]. Sit comfortably, let the shoulders drop, and breathe slowly; self-massage works best on relaxed muscles [4].
- Locate by feel. Find each point from the table above, then confirm with one firm press — the true point answers with a sharp, clear tenderness [7]. Allow yourself the full one-centimeter neighborhood; anatomy varies [7].
- Work the sides of the head. Ten quick fingertip presses on Taiyang in each temple hollow, and ten on Sizhukong at the outer brow ends, the latter combined with small circular massage [2].
- Work the occiput and neck. Ten circular presses each on Fengchi in the hollows behind the ears, Fengfu at the base of the skull, and Dazhui below the prominent neck vertebra [2]. Finish the head with ten to one hundred light pats of a relaxed, spread-finger palm over the crown [2].
- Close distally. Light, rhythmic pressure for up to five minutes on Hegu in the hand web [6][7], and gentle holds on Taichong on the foot for the same tension pattern [6]. Both sides, always symmetrically — the sources insist on bilateral work [4][7].
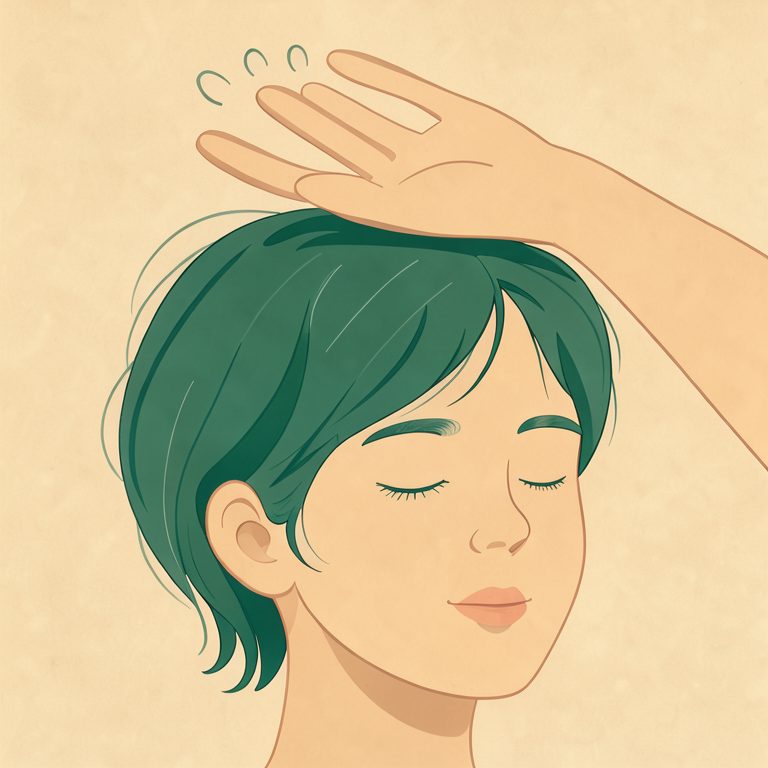
Course structure comes from the head-massage manual: for acute complaints a session may be daily, for chronic ones every other day; a course runs ten to fifteen procedures, with at least thirty days between courses — and a course is finished even if the discomfort has gone [4]. If a movement causes sharp pain, stop; comfortable intensity is the classical standard [8].
To widen the routine, our practice manuals library walks through full sequences pose by pose; if neck tension travels into stiff joints or tight hips, our honest program reviews — Joint Genesis and Unlock Your Hip Flexors — describe what each program contains and who it suits, with no promises attached.
Safety: When to Skip the Practice
Classical sources are strict about who should not use point massage. The 25 Magic Points manual lists: benign or malignant growths of any location; inflammatory illness with high fever; diseases of the blood; active tuberculosis; organic disease of the heart or kidneys; acute psychiatric excitement; pregnancy; infectious disease; and age under two or over seventy-five [6]. Earlier Soviet self-massage guidance adds acute febrile states, acute inflammation, bleeding or a bleeding tendency, and abscesses [8], and the healing self-massage literature adds pronounced hardening of the brain’s vessels with a tendency to clots or bleeding, and convulsive seizures [9].
Timing and place matter too: no point massage within an hour after eating, on an empty stomach, or in intoxication; never over moles, warts, growths, pustules, wounds, damaged or burned skin [6]. Zones to leave alone entirely are the breasts, the groin and armpits, and the places where large blood vessels and lymph nodes sit near the surface [4].
Two final lines the sources draw themselves. First, simplified acupressure cannot replace necessary medical treatment — it is an adjunct for comfort and first aid, not a substitute for a doctor [7]; the head-massage manual likewise sends every illness to physician consultation before any self-work [4]. Second, a headache that is sudden and severe, follows an injury, or arrives with fever belongs to emergency care, not to a self-massage table [4][7]. This guide is educational content drawn from traditional wellness literature; it is not intended to diagnose, cure, treat, or prevent any disease.
Frequently Asked Questions
How hard should I press?
Lighter than you think. Calming work on a tense head is light, rhythmic pressure — one to five minutes of gentle circles for acute discomfort, and medium pressure in short repeated holds for chronic patterns [7]. The depth scale of the classical technique runs from barely perceptible to deep [4], but for self-work on the head and neck, stay at the gentle end: sharp pain means stop [8].
How long before I can expect to feel anything?
The sources describe a course, not a single event: one to five minutes per point in a session [7], ten to fifteen procedures in a course, daily for acute complaints and every other day for chronic ones, with at least thirty days of rest between courses [4]. They also warn against stopping mid-course when symptoms ease [4].
Can acupressure replace pain medication for headaches?
No. The practical guide states it directly: in its elementary form acupressure cannot replace necessary medical treatment, though it can accompany it as comfort-focused support [7]. If headaches are recurrent, sudden, or severe, the first step is a physician consultation — the same rule the classical manuals set before any self-massage [4].
Sources
- [1] Yang Jwing-Ming — Meridian Qigong Exercises: Combining Qigong, Yoga, Acupressure (2016)
- [2] Chinese Self-Massage (unattributed classical manual)
- [3] Reflexotherapy in Obstetrics and Gynecology (unattributed clinical manual)
- [4] Ermakova S.O. — Head and Ear Massage: The Path to Health and Longevity (2010)
- [5] Vasichkin V. — Healing Points: Illustrated Atlas (2020)
- [6] Medvedev A., Medvedeva I. — 25 Magic Points (2008)
- [7] A Practical Guide to Acupressure Self-Massage (unattributed practical manual)
- [8] Biryukov A.A. — Self-Massage: A Source of Vigor, Strength and Health (1972)
- [9] Lyubimova L. — Healing Self-Massage for Vigor and Joy (2009)
Where to go next: the manuals library builds out complete routines; if chronic neck and shoulder tightness is your everyday companion, the Joint Genesis review and the Unlock Your Hip Flexors review take an honest, criteria-based look at two popular movement programs — what is inside each, and who each one fits.
How we researched this: This article was built from a local library of 1,137 wellness books, indexed and searched offline — no internet sources were used. Every statement above was checked against the cited book passages before publication.
